
 Materials
- Base Coat and Top Coat
- Pale or Sky Blue Polish
- White Polish
- Gold Polish
- Nail Art Stripers the Colors of the Rainbow ‐ Red, Orange, Yellow, Green, Blue, Purple
- A Dotting Tool
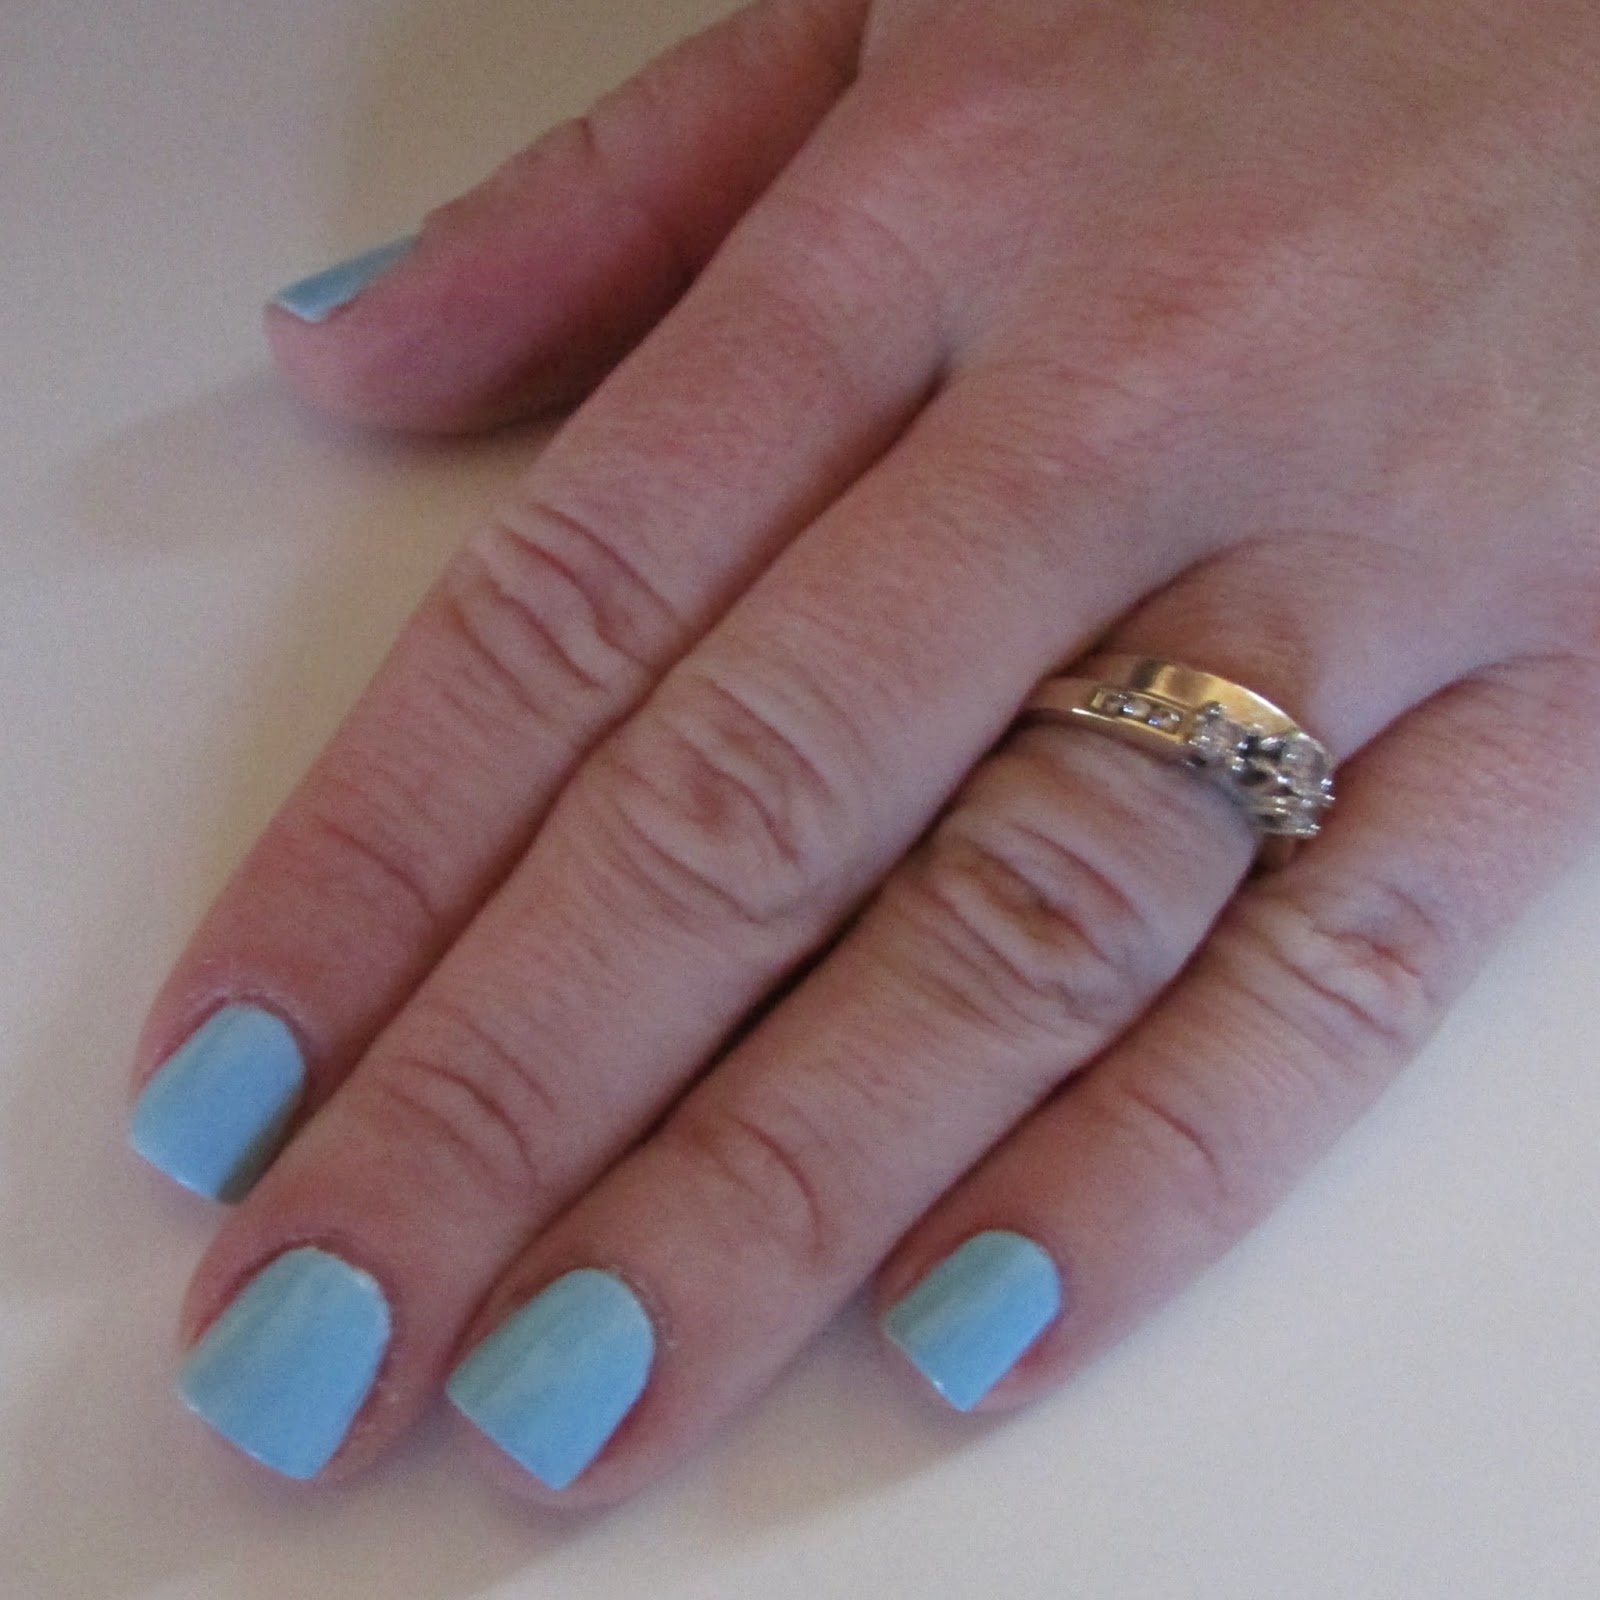 For this design I painted all my nails a shade of pale blue after applying my base coat. The base color doesn't need to be completely dry before you begin your rainbow design, but it should be mostly dry to prevent your colors from bleeding into one another.
I began my rainbow on my pointer finger and continued down to my thumb using nail art stripers. (I know that seems a little confusing but it'll make sense when you see the finished product.) If you don't have nail art stripers you could always use a thin paint brush. I used nail art stripers specifically because I had read that the polish is typically thicker. This seemed to be mostly true except for the orange. I could only find a neon orange nail art striper and it was very watery. I had to do a couple passes with the orange to get a solid less translucent line.
When doing this design I really had to consider the final presentation. Creating the first row of color is probably the trickiest. If you don't have experience with nail stripers you'll want to take your time with this design. All of the remaining colors were a little easier because I could use the first color as a guide. Continue striping the rest of your colors to complete your rainbow.

Since, this was my first time using Stripers I was not too concerned with the mess I was making on my cuticles. I really just wanted to concentrate on the design. It is also a good idea to give each color a few seconds to dry before applying the next color. I applied the red to each of my fingers, and then started back on my original finger with the next color. This gave the polish enough time to dry between colors.
After completing your rainbow, create a little cloud to give your rainbow a point of origination. Dab some white polish along the corner and tip of your pointer finger. I wanted to give my cloud a little texture so I applied the polish kind of thickly. Then when the white polish was tacky I used a dotting tool and more white polish dabbing along the cloud to create bumps and ridges. Skip this step if you don't like textured designs.

Create a pile of gold on the other end of your rainbow using gold polish and your dotting tool. In this case I placed my pot of gold in the top corner of my thumb.

Perform a little cleanup on the cuticles, add a top coat, and you should end up with something like this when you are done. What's that you say? It doesn't make sense. It looks weird! Wait for it…

Tada! This is why its important to consider your final presentation.

If you don't like this presentation, you could also do something like this.

Though this design pushed me outside my comfort zone, I really did have fun with it. It is far from perfect, but it is cute. I think with more practice and less caffeine in my system I could get really good with these stripers. I'd love to hear what you think about nail stripers, leave me some comment down below. Have a safe and happy St. Patrick's Day!
Your Fellow Plebe,


No comments:
Post a Comment