Hello Lovelies!!!! I know I haven't posted in what seems like forever (at least to me), and I thought I should explain why, especially to those of you that don't follow me on other social media channels. The end of the summer was particularly tough on me, riddled with good and bad stress in my personal life. Before I knew it the vacation my husband and I had been planning since the beginning of this year had arrived, and I wasn't as prepared for it as I would have liked to have been. So, instead of stressing myself further and not enjoying my vacation I decided to set my blog aside to relax and enjoy some family time.
For those of you who are interested this post is almost entirely about my vacation and not a whole lot about nails. So, if you are only here for nail art you can go ahead and skip this post (there will be a little nail report at the end of this post, but no nail art, sorry).
Great American Road Trip in the Sky
The vacation my husband and I planned wasn't your typical family vacation. As some of you know I recently obtained my private pilot license, and my husband is a pilot too. We thought it would be a really fun experience to pick a destination somewhere in the United States and fly ourselves to it. However, we wanted the trip to be more about the flying and enjoying the sights and not just flying directly to one destination. I like to think of this as our Great American Road Trip in the Sky! After much discussion we settled on making our furthest destination Mount Rushmore, since neither of us have ever seen it, and its about halfway across the country from where we live in Eastern NY.
 |
| Our flight with each stop tagged |
We recruited my father-in-law who is a retired air traffic controller, and my mother-in-law who is also a pilot to go along on this journey with us. We packed both planes with camping gear and basic rations, planned our flights with many fuel stops (because my little plane can't carry a great deal of fuel) and setoff.
 |
| My plane, the little yellow and white on the left, and my husbands plane on the right. |
Falling Water
Our first target destination was Connellsville, PA which happens to be just south of Frank Lloyd Wright's infamous Falling Water. For those of you who don't know already, my primary college education was in interior design and I have always been fond of FLW. Though this was not the first time I've seen Falling Water, I am still amazed at is uniqueness, ingenuity, and beauty. I could ramble on all day about this amazing house, however, I'll just say if you've never seen it, you have to, you just do.
 |
| Iconic shot of Falling Water (your not allowed to take photos inside, without a special pass). |
We spent that evening camping out on the field of the airport we had landed at earlier that day.
Indianapolis
The next day we pushed on to Indianapolis, where we stayed in a hotel for a couple of nights. Our primary goal for visiting this city was the Indianapolis Children's Museum. We had been told by many of our friends that this place was phenomenal and that you need at least one full day to explore it all. In all honesty, one day isn't even enough. This museum was amazing and even though it is a children's museum, there is so much to see and do that it is equally entertaining for adults. My favorite exhibit was the Fireworks of Glass, which was an amazing five story high tower of blown glass.
 |
| Fireworks of Glass |
 |
| Underground view of Fireworks of Glass, looking straight up. |
Though our primary objective was the children's museum, I was very impressed by the city of Indianapolis. I'll be honest, I've never really thought much about this city, but it is a beautiful city which emphasizes the arts, and has a culture all its own.
Push West
After two days in Indianapolis, the plan was to push west as much as possible and get to South Dakota as quickly as we could. Unfortunately, we didn't make it very far from Indianapolis before the weather grounded us. We made it to Peoria, Illinois, one of our intended fuel stops but ended up having to camp out.
 |
| Crappy weather |
The employees at Mount Hawley airport were so accommodating. Even though we didn't call for prior permission they allowed us to camp out on the field, and loaned us a car so that we could get some dinner. Upon their recommendation we tried Quad City style pizza from Knuckles Pizza. Being a New Yorker I'm a bit skeptical about any non-NY style pizza but I gave it a shot. Oh...Em...Gee... it was the best pizza ever! I'll honestly never look at pizza the same again.
 |
| Knuckles Quad City Style pizza |
The next day the weather lifted enough for us to move on, so we pushed further. The further west we moved the more challenging the weather seemed to get. We started to loose visibility and our horizon started disappearing. These are both very important to Visual Flight Rules (VFR) flying, which is the only kind of flying my mother-in-law, myself, and my airplane are qualified to fly in. However, the weather never fell below VFR minimums, and was manageable with the assistance of the planes flight instruments.
Of course, as murphy's law would have it, the vacuum pump in the aircraft failed and we lost two of the primary instruments we needed to make the flight easy. The artificial horizon and the directional gyro. This made flying very difficult but we had a few things working in our favor, we had a compass, a GPS, and we were flying formation. Between the GPS and the assistance of my husband and father-in-law, we were able to make it to Wayne, Nebraska.
 |
| Vacuum pump failure! The second instrument on top is the artificial horizon (its not supposed to look like that), the directional gyro below the artificial horizon (looks like a compass) no longer work. We were heading directly west yet the DG says northwest, wrong! |
Upon arriving in Wayne, Nebraska and talking to some of the locals we soon realized that the poor weather conditions, were not actually weather but smoke from the wild fires occurring in many of the western states. It never dawned on me that smoke could travel so far. This left us with the question, do we get the vacuum pump fixed or try to make the rest of the trip without it. I decided that it wasn't worth the risk of not having it, so I opted to get it fixed sooner than later. The folks at Wayne, overnight the part and had it installed the same day it arrived.
Mount Rushmore
Instead of waiting around for my plane to get fixed, we decided to go ahead and head over to South Dakota and see Mount Rushmore. Unfortunately, we couldn't fit everyone in my husbands plane, so we split up. My husband, myself, and my daughter flew, while my in-laws rented a car and drove the rest of the way there. This was the only time my husband and I ended up in the same plane the entire trip.
On the way, we flew past the Badlands, which I have read about but never seen. They are both scary and impressive.
Of course, we arrived in Custer, South Dakota much earlier than the in-laws so we had to wait for them, and ended up seeing Mount Rushmore in the evening. I thought this would be a huge disappointment, however, we arrived just in time for the lighting ceremony. I highly recommend seeing Mount Rushmore this way, it seemed so grand. You arrive with the monument dark, and after a video presentation they light it up.
 |
| Upon arrival at Mount Rushmore, before lighting. |
 |
| After lighting. |
We stayed in a hotel that night and if I had my way we would have spent a few days in South Dakota. Unfortunately, we were starting to run out of time and we still had a lot we wanted to do before we were home again. South Dakota is absolutely gorgeous though, and I will be going there again in the future for a longer stay.
Push Back to the East Coast
Because of our delays due to weather and the vacuum pump failure we deviated from original plans for the homeward bound trip. Originally, we were going to hop back home on a more northerly route making stops in Wisconsin and Michigan. After picking my plane up in Wayne, Nebraska we decided to make a hard push for the East Coast. This was a big challenge, but with the vacuum pump fixed it was a much easier task to accomplish. We managed to make it from Wayne, Nebraska to Falmouth, Kentucky in one day before we decided to set up camp for the night. We would have made it a little further but once again the weather was putting up a challenge.
 |
| Thunderstorm and convective activity made us decided to camp out in KY. |
First Flight
The next day we picked our way around thunderstorms and made a push for First Flight. As any pilot or aviation lover will tell you, First Flight is a required pilgrimage. It is an amazing awe inspiring place that often leaves one speechless.
Home Sweet Home
After a night at First Flight we started the trek home. We did stop in Petersburg, Virginia to visit a Civil War battlefield. My mother-in-law is a huge Civil War buff and this was one of the few battlefields she hadn't visited yet. Unfortunately, thunderstorms kept us from heading any further north up the coast so we stayed the night in Petersburg. The next day, we made the rest of the trip home north up the coast, once again picking our way around weather and restricted airspace.
Ten days away from home, 30+ hours of flying, great sightseeing, aviation challenges, and much needed family time; this was the biggest and best adventure I've ever been on and I wouldn't change it for the world. Even the toughest parts of the trip were overcome and things that I thought would be a problem never were. It was a wonderful trip but I am happy to be home.
Nail Update
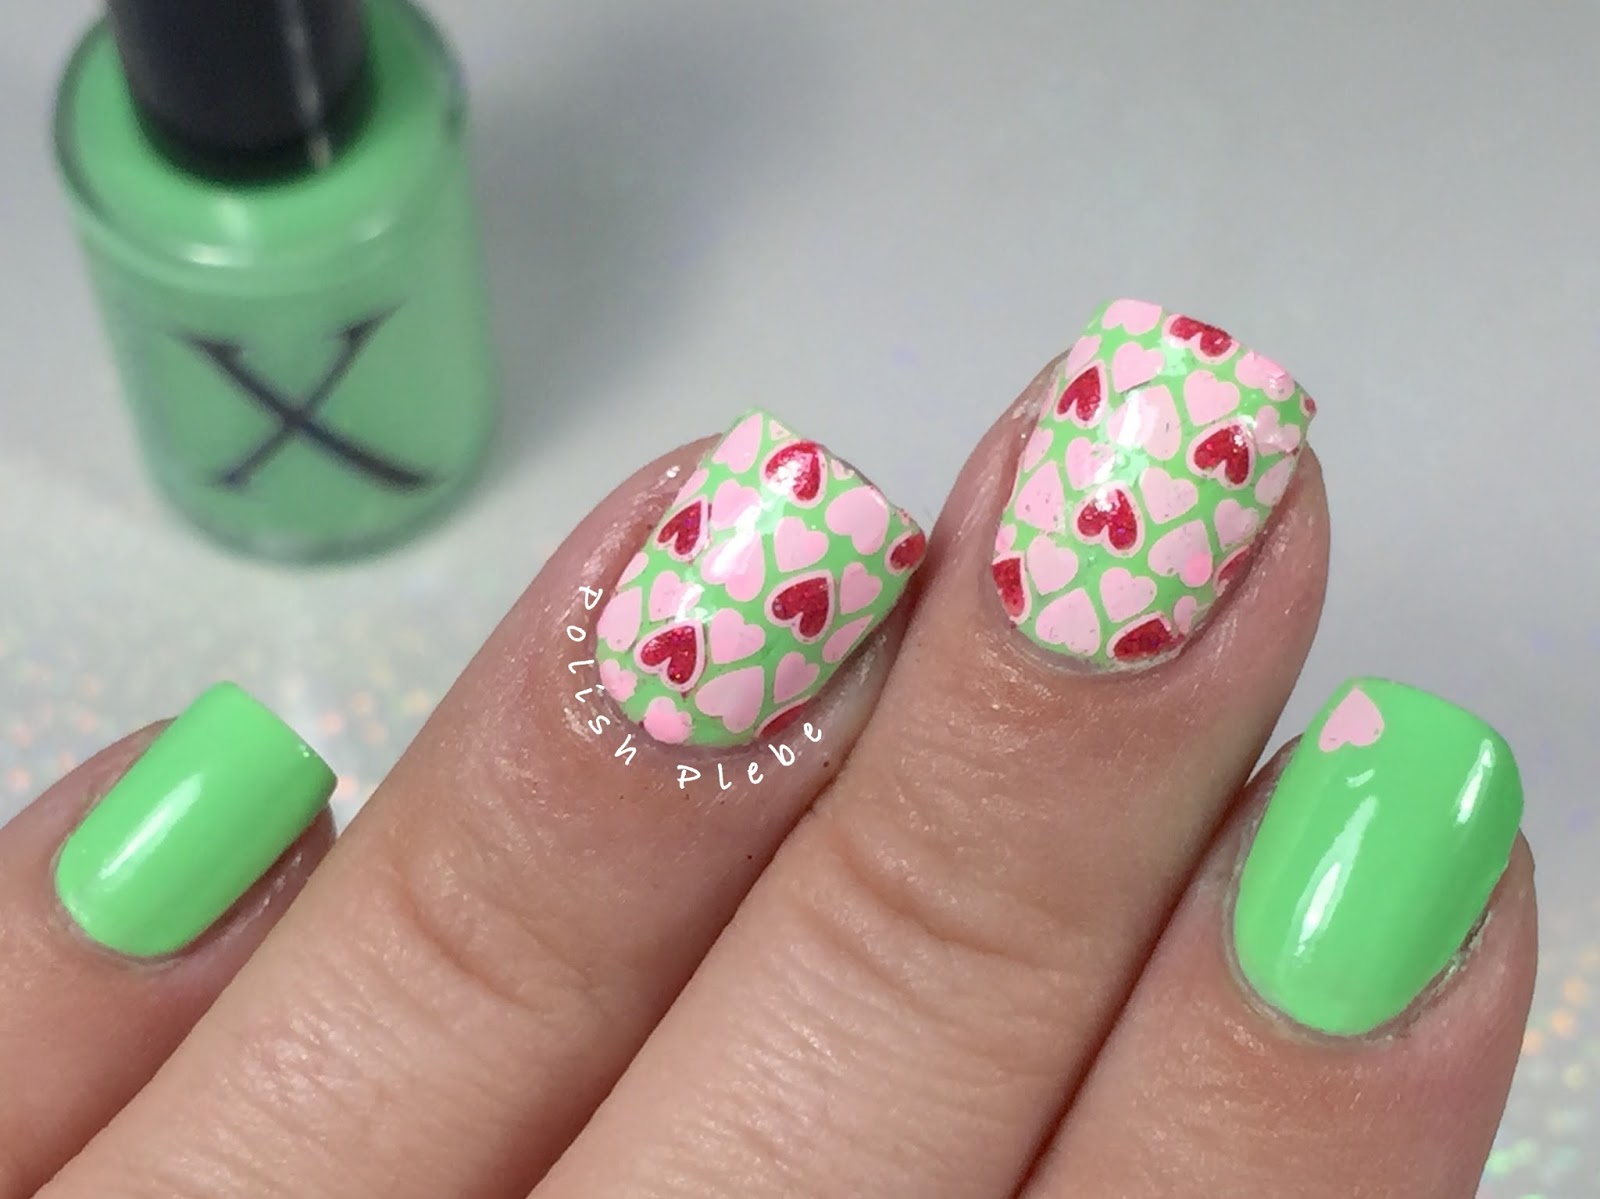
I knew this trip was going to be murder on my nails. Before I left for this trip I filed all my nails down to nubs.
Due to poor internal and external hydration my fingers are the most unpresentable they have been in ages. My cuticles are disgusting, my nails are misshapen, and the ridges are out of control.
I intend to spend the next few day getting my nails back into fighting shape. I will make a report of what I do and update you on my status. Hopefully, it won't be long before there in a more reasonable state. I have a couple sets of indie polishes I purchased before my trip that I would like to swatch, and there are a ton of nail art ideas that I never got around to before the trip too. After this post, I'll get back to the regular nail stuff, I promise.
I hope you enjoyed hearing about my trip. Thank you for stopping by, see you soon.
Your Fellow Plebe,