Friday, July 3, 2015

Mani Swap with Ab_nailedit

Hello Lovelies!  I know I promised you another Fourth of July mani, but I wanted to share this with you first.  This is my first ever mani swap with Anusha (IG:ab_nailedit)...


For my fellow plebes out there, a mani swap is the process of recreating another artist design, with the agreement that they are going to do the same with one of your designs.  This is a great way to make new nail pals, test your skills, and try on that mani you've been admiring on Instagram.

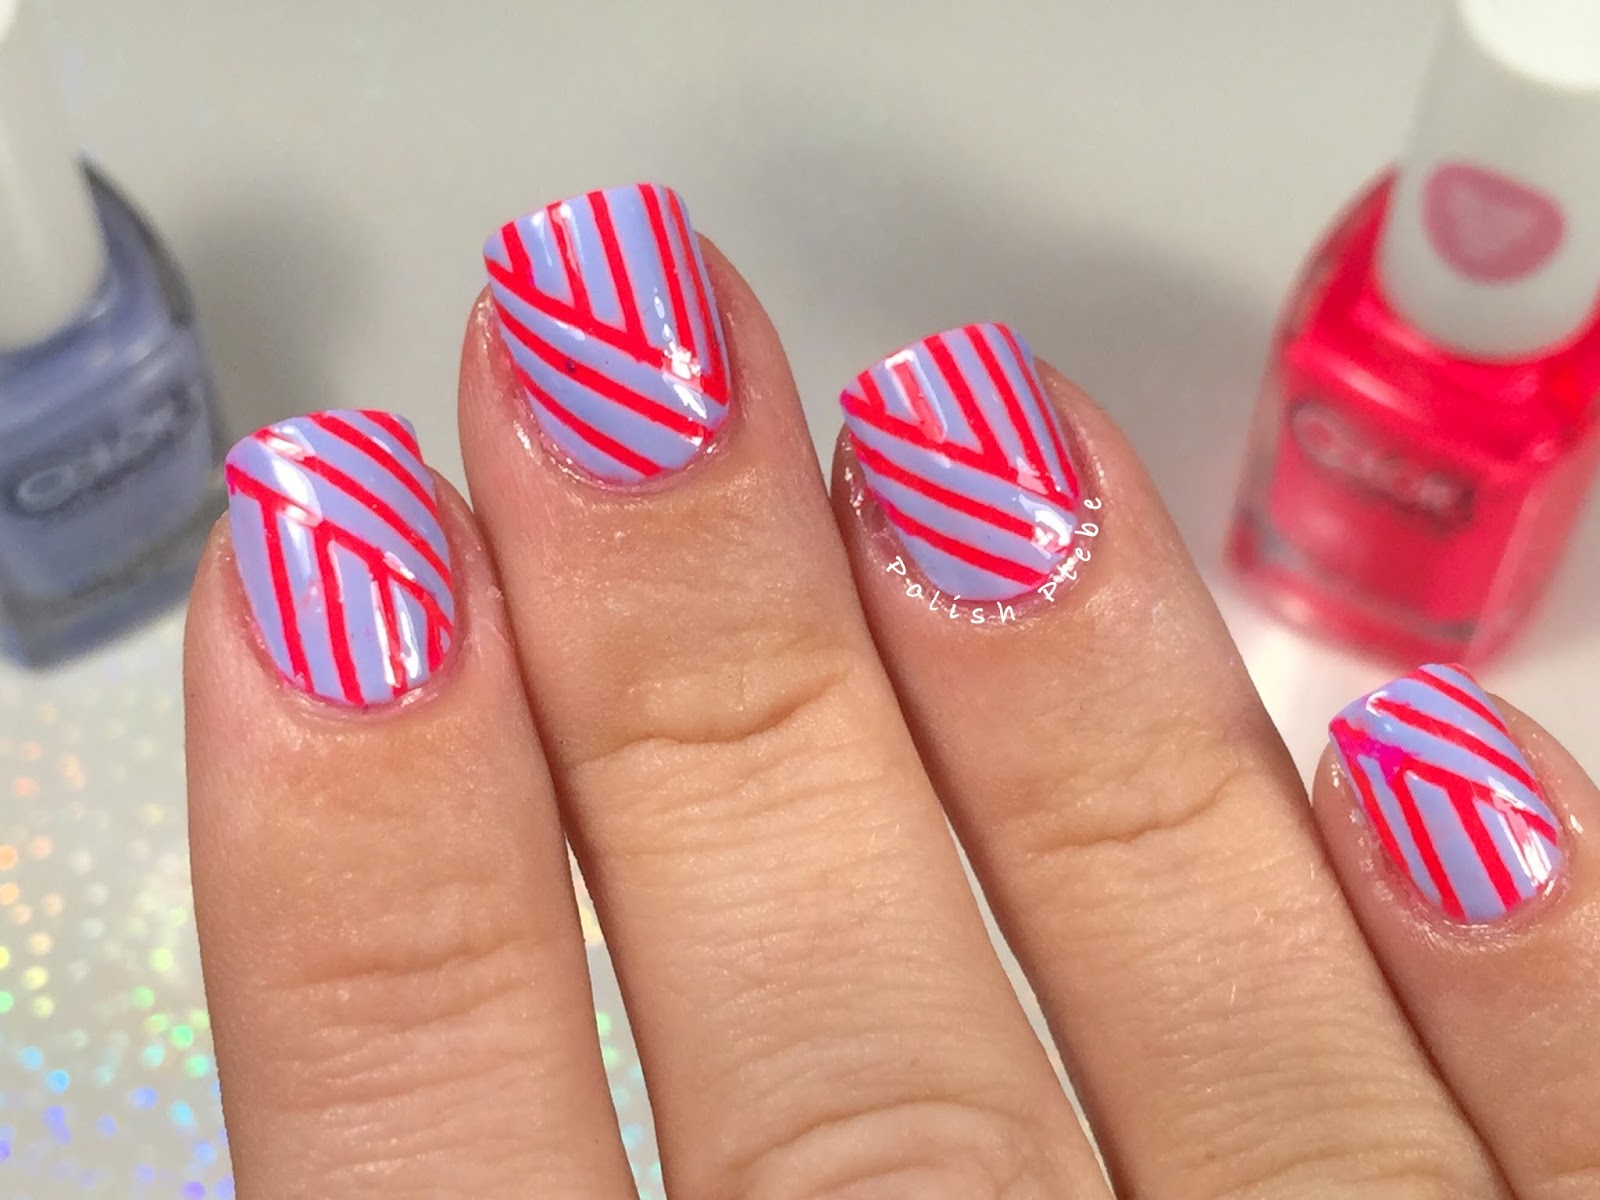
I decided to recreate one of Anusha's bright pastel nail art design because I really like the colors and I thought the design would be fun.  Anusha's original design I recreated was done freehand, however, I cheated and used tapes to recreate the pattern.

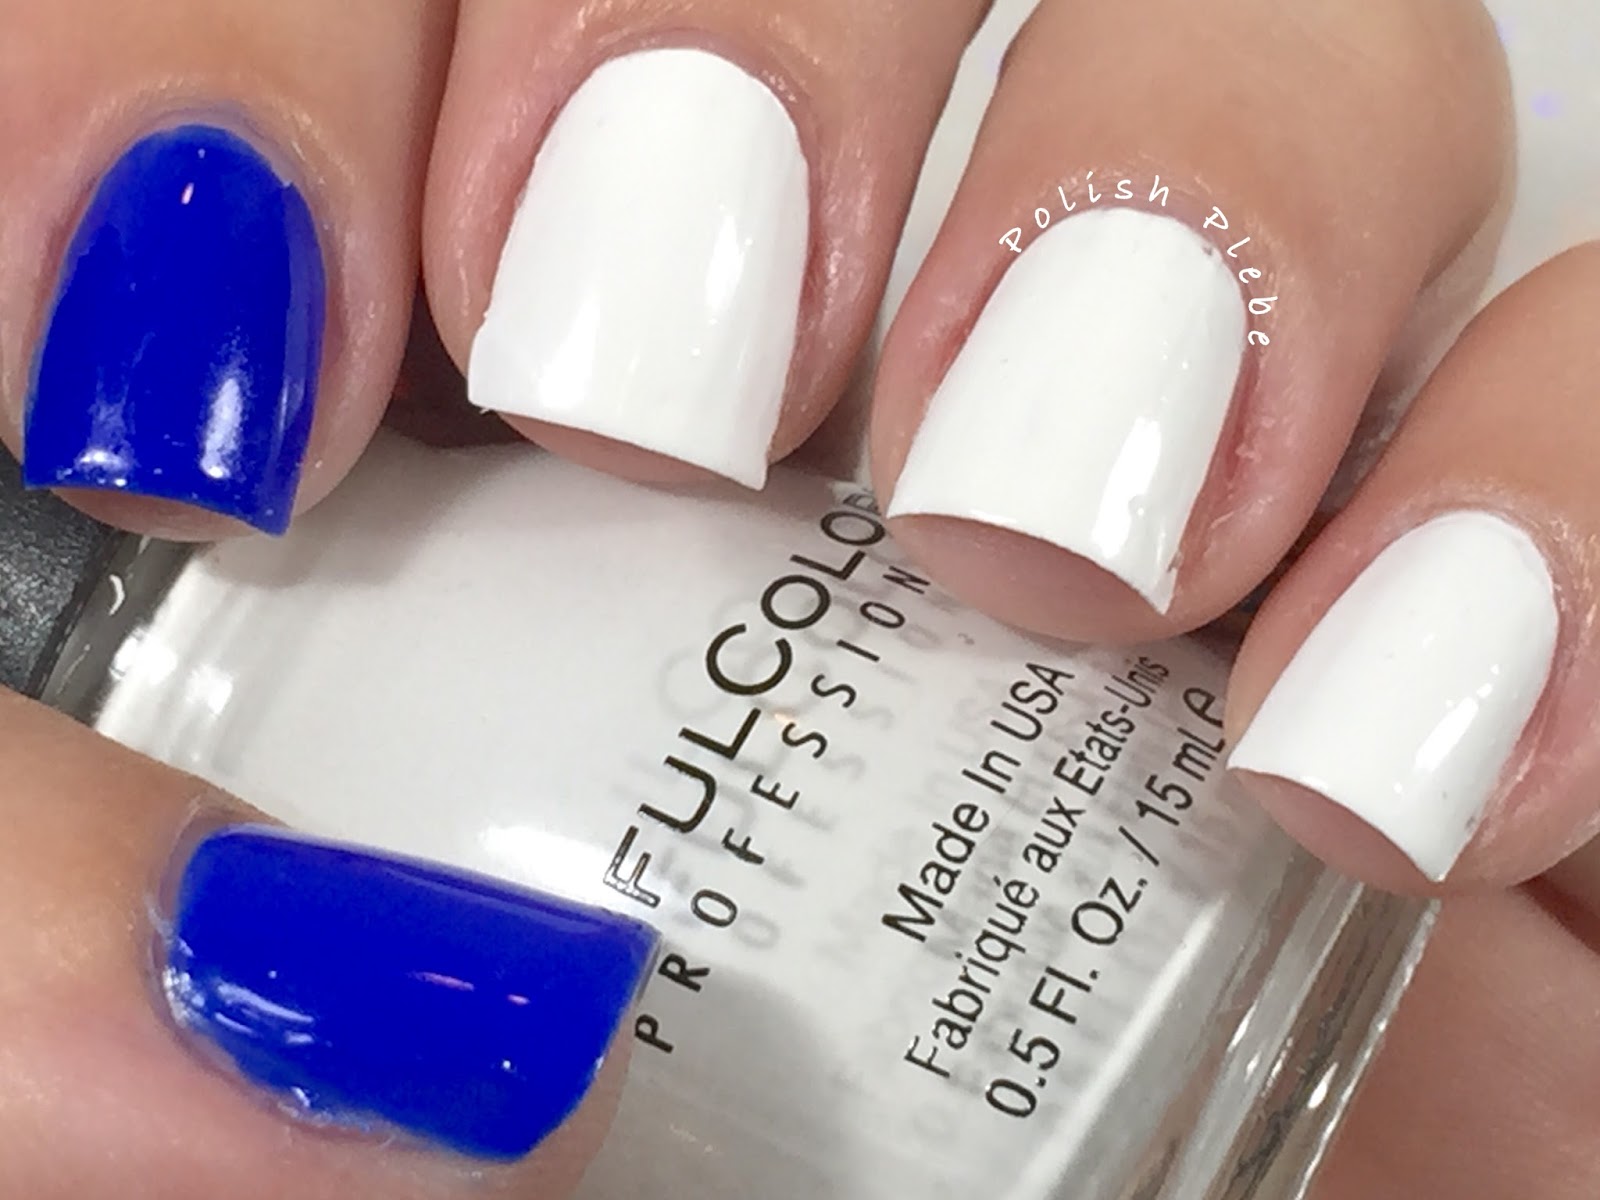
For the recreation I started with a very bright pink, Color Club 'Sweet Getaway.'  This happens to be scented to smell like roses and it smells absolutely divine.


I used striping tape to create the pattern.  I started with the diagonal stripes first because I felt that was easier for both the application and removal.  I then applied tapes vertically, lining them up with the top diagonal stripe being careful to not over lap it into the diagonal area.  I applied my secondary color, Color Club 'Holy Chic!' and then removed my tapes as quickly as possible.

  
As (almost) always, I performed a bit of clean up with acetone and a brush, and applied a quick drying top coat.


This was a really fun project, and I highly recommend you contact your nail pals or someone you admire and arrange a mani swap.  Anusha and I, meet (virtually) and was encouraged to do a mani swap because of an absolutely one of a kind, fantastic nail art community on Google+, Nail Polish Queens.  However, I am sad to announce that this wonderful community will be shutting down tomorrow, July 4th.  I am broken hearted over the end of such a great group but I am happy to have been a part of it.  Through the NPQ I have meet so many, wonderful, caring, considerate, encouraging, and enabling nail pals (many of whom I will do my best to keep in touch with through other medias).  I have improved my skills, and have been able to produce better nail art in part because of the NPQ community.  So, it is with a heavy heart that I say goodbye to NPQ.  If you are a fellow NPQ member, and I am not following you on IG, or any other media, please let me know so that I can track you down. 


On a happier note, how pretty did these nails turn out?!  I love the colors and the stripy pattern.  Big thank you to Anusha for being my first mani swap partner, be sure to check Anusha out on IG: ab_nailedit to see all of her great design.  Also, if you are interested in doing a mani swap with me, please don't hesitate to ask, I love a challenge and it is a great way to make new friends.  Thanks for stopping by, see you next time.

Your Fellow Plebe,


Thursday, July 2, 2015

Patriotic Waterfall

Hello Lovelies!  Today, I have a super easy, super quick nail art design that will work on any nail length or shape.  You don't need a lot of skill to create this look so it is perfect for a beginner too.  I've created one of these waterfall manicures once before, my ROYGBIV Waterfall Nail Art design.  I used the same exact technique but used a red, white, and blue patriotic color scheme...


Materials I used:
Base coat - INM Ridge Free
White base - Color Club 'Blank Canvas'
Art Club stripers - red, blue, and silver
Top coat - Beauty Plus Salon

I began with a nice white blank canvas, using 'Blank Canvas' (what a befitting name, for a white polish).


I then used my three nail art stripers in red, blue, and silver to create the waterfall.  A waterfall manicure is simply a series of vertical stripes that run different lengths of the nail (often about halfway) and typically start from the smile line (cuticle area) or the tip of the nail.  Of course, all of these variances are up to you.  I began with red...


I then used blue to stripe in between the red stripes...


I finished up with silver, using it to fill in the slightly wider spaces.


Lastly, perform any clean up if necessary and apply your favorite topcoat, and you're done.  Super simple and super quick.  This took me approximately 30 minutes, including photographing.  If I didn't have take the time to take pictures I probably could have done this in 10-15 minutes. 


This is a perfect patriotic mani for someone who has limited skill, limited time (because your to busy getting ready for that Fourth of July party this weekend), and it's great for any nail length.  You may have noticed in my step-by-step pictures that my mid-finger was significantly shorter than the rest.  I had an epic break yesterday, when I was folding laundry, of all things!  Normally, I would avoid photographing a hand with a broken nail but I decided to use it as a guide to show you that this also works on short nails too.


I really hope you enjoyed this quick, easy, Fourth of July nail art design.  I will be posting one more Fourth of July manicure, so stay tuned.  Thanks for stopping by, see you next time.

Your Fellow Plebe,

Wednesday, July 1, 2015

Stars and Stripes

Hello Lovelies!  I know today is Canada Day but I didn't create nails for it because I can't draw a maple leaf to save my life.  To all my nail pals to the North, happy Canada Day!  I do, however, have some Independence Day nails, to help you get ready for this coming weekend!


Materials I used (sorry I forgot to photograph the supplies):
Base coat - INM Ridge Free
Blue polish - Sinful Colors 'Endless Blue'
White polish - Sinful Colors 'Snow Me White'
Red Art Club Striper
Star shaped vinyls from nailvinyls.com
Silver Glitter Art Club Duo
Topcoat - Beauty Plus Salon


I began with a blue base on my thumb and pointer, and white on the remainder of my fingers.  Sticking with a traditional flag layout.  I did apply a quick drying topcoat over the blue, but not the white.


Using a red nail art striper, I freehand painted three wavy stripes over the white.  In attempt to make it look more like a flying flag.  If you are uncomfortable with freehand, use tape.  If you want wavy lines with tape, try cutting scotch tape with a pair of curved cuticle scissors to create this affect.


Once the blue was set, I used star shaped nail vinyls along with white polish to create my stars.  Of course, if you do not have star vinyls you can freehand stars too.  When doing a light color over a dark or bright color make sure your light color is very opaque to avoid having to do too many layers.  The white I use, Sinful Colors 'Snow Me White' is incredibly opaque in one coat, it easily covers darker colors.


As always, perform a bit of clean up and apply your favorite top coat.  As you can see, I had some dragging occur on my pinky when I applied my topcoat.  This occurred because I didn't float the topcoat like you should.  When applying a topcoat, it is best to start with a fair amount of topcoat on the brush, and apply it somewhat thickly.  The term floating is used because you are essentially floating the applicator brush over the nail.  If you do it correctly the brush will never actually touch your nail or artwork because the topcoat will keep it afloat.  I hope that make sense, if it doesn't please inquire about it more.


I repeated this on both hands, even though I had a bit of trouble creating the stripes with my non-dominant hand.  If you are creating stripes and you find you have made a mistake you can correct it or touch it up by using a striper brush and your base polish to fix it.  I had to do this in a couple of spots.  Also, please excuse the pink cuticles, red stains my fingers terribly.  If I had been smart I would have used a latex mask to help prevent this from happening, which I will be for my future manicures.


I hope you enjoyed this simple quick patriotic manicure, and found the tips and tutorial useful.  Get your BBQ's and sparklers out for this weekend's festivities.  Stay tuned for a couple more patriotic inspired manis, I have a super quick and simple manicure and a recreation of a Fourth of July manicure I created last year, coming up.  Thanks for stopping by, see you next time.

Your Fellow Plebe,


Social Gadgets

Random Nail Art

Background