Thursday, November 13, 2014

Large Argyle Print Nail Art

I love argyle prints! They're perfect for fall and are easy to create. You can freehand this design or you can use tape or vinyls to create this look. I decided to use blues and do a monochromatic scheme. Here is how I created my large argyle print:


Materials
Base and top coat
3 shades of polish
90 degree vinyls (or tape)
Striping brush

I started my argyle print with a white base. I used my go to white polish, Sinful Colors 'Snow Me White'. I then applied a quick drying top coat to speed up drying time.


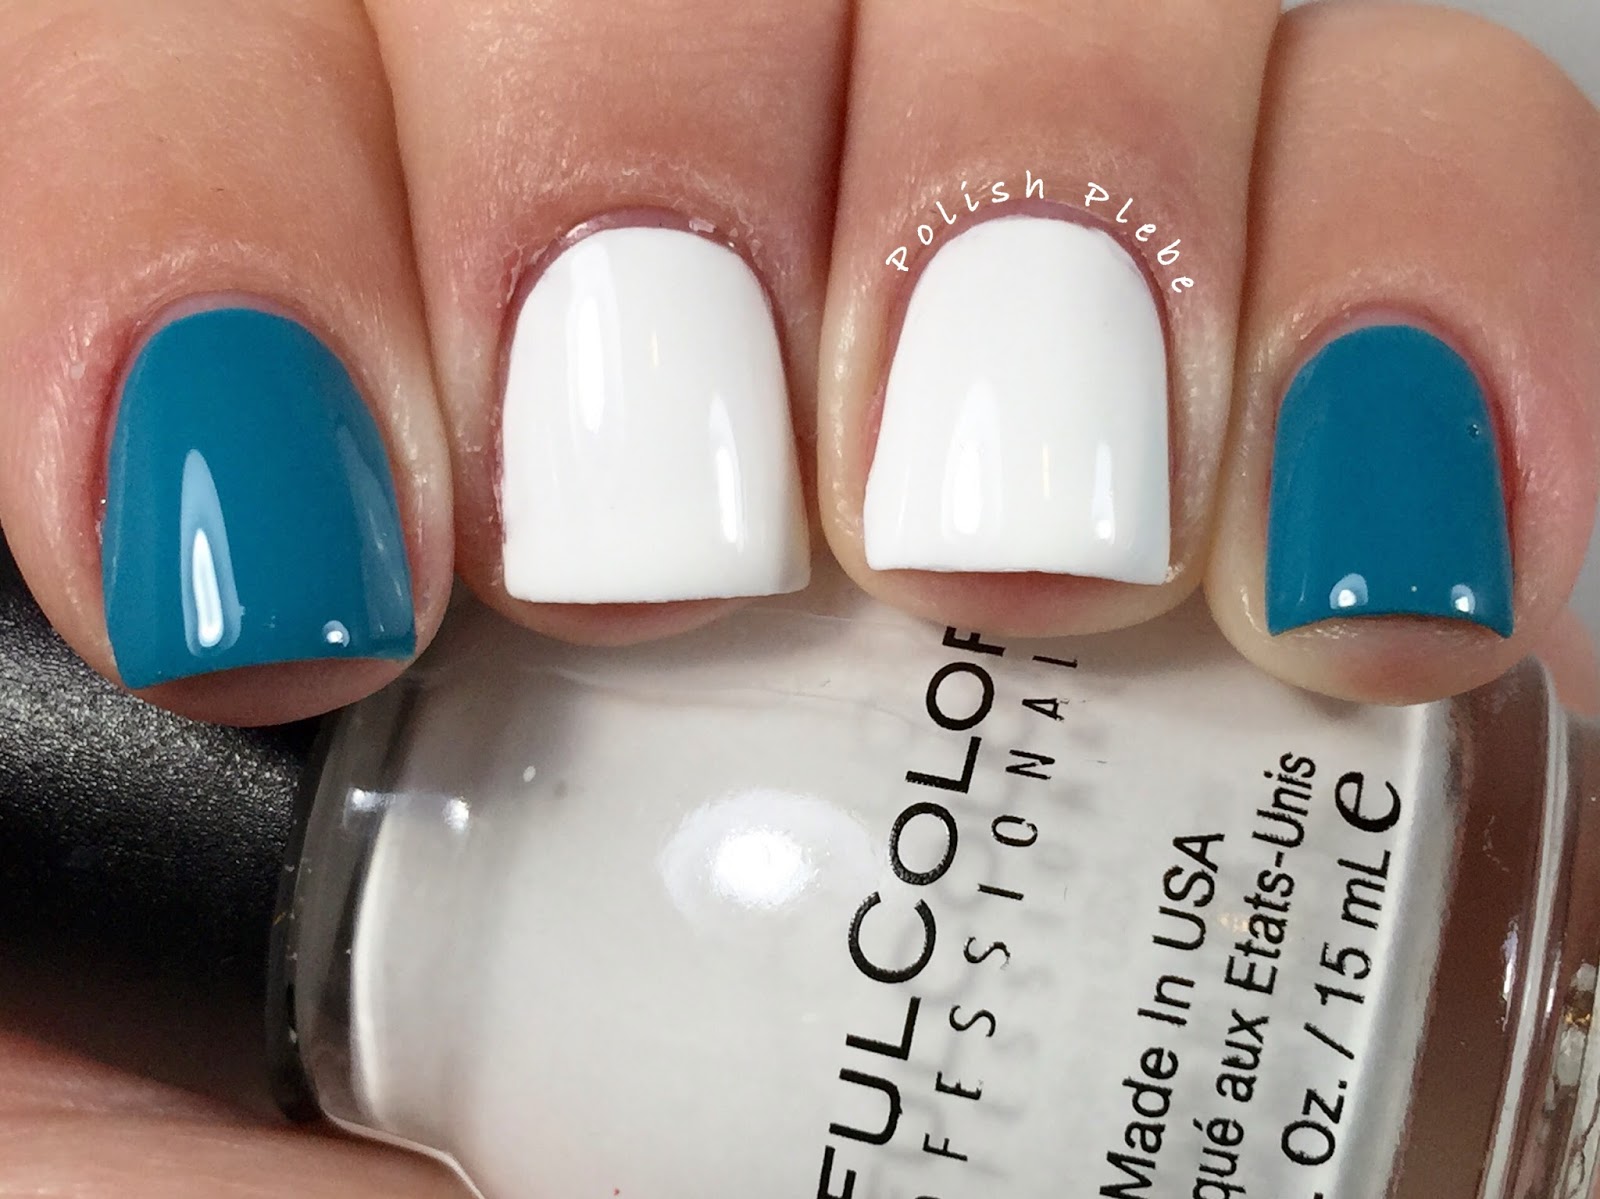
Once my polish was dry I applied two right angle vinyls in a v-shape with the points centered on the nail. I purchased my nail vinyls from nailvinyls.com.  I then painted a light blue on the sides of the nail and removed the vinyls. This light blue polish is Lucky Lacquer 'Forget Me Not'.


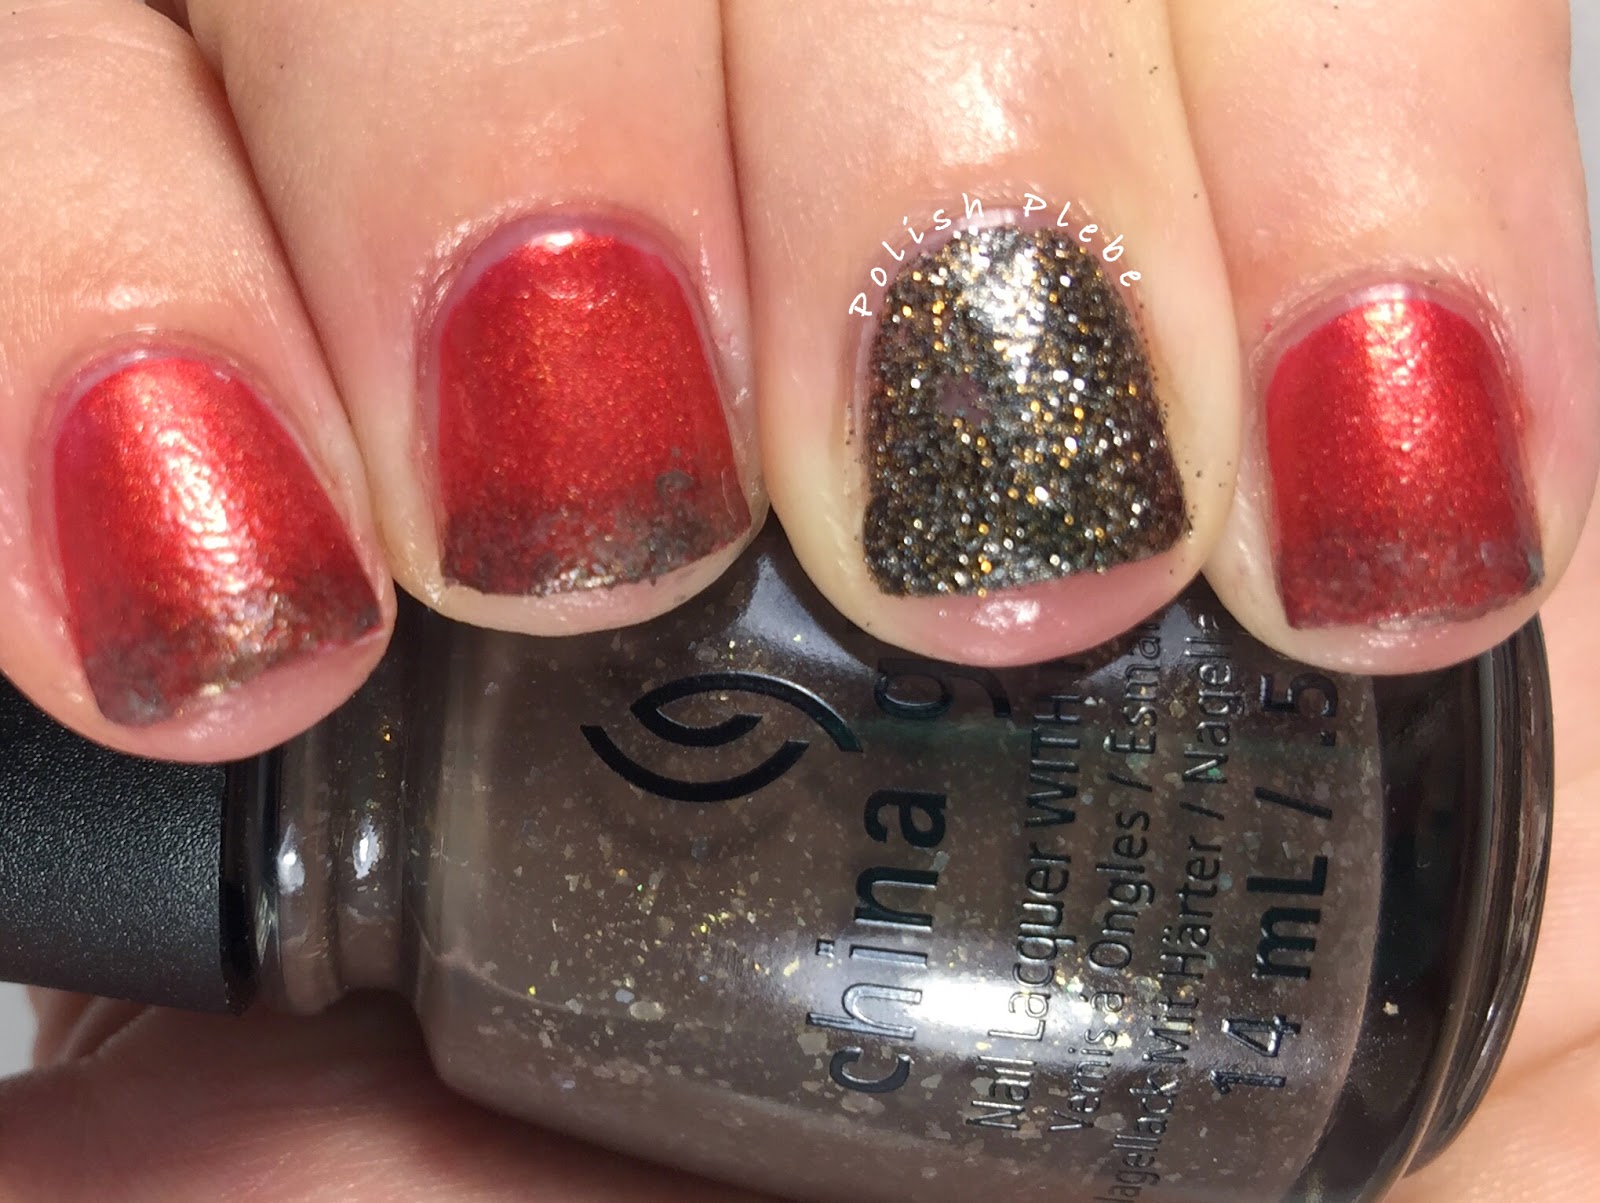
Then using a stripping brush and a darker shade of blue I created a dotted diamond shape to complete the argyle print. I used Lucky Lacquer 'Teal We Meet Again' for my darker shade.


I finished this manicure using 'Teal We Meet Again' on my other fingers. Because I love these colors and the argyle print so much I decided to draw a little heart on my pointer. I used Lucky Lacquer 'Sweet Pea' for the heart.  If you love these lacquers check out Lucky Lacquer's store http://luckylacquer.storenvy.com/ and use coupon code: Crystal for 10% off your purchase.  She is running some great Holiday promotions as well as offering gift sets perfect for any lacquer lover.


I absolutely adore this design and I hope you do to. It's fairly easy and can be customized in many different ways. There is a good chance I'll be creating this design again with a different color combination. Thank you for stopping by, see you next time. 


Your Fellow Plebe,


Wednesday, November 5, 2014

Elegant V-Tip French Manicure

Since, I destroyed my nails last week I have been really bummed and not really in the mood to do nail art.  But today, I decided that there is no reason I can't have pretty nubs.  So, for this weeks #whatruwearingwed nail art design I decided to do a really simple french tip design that works well with both short and long nails.


Materials
Base and top coat
1 - 3 shades of polish
Stripping tape

I started this look off with naked nubs.  However, if you'd like to create something more colorful you could start with a base color of your choosing.  You could also use a french pink base coat too. I do not typically go without a base coat but I decided since I was using light colors that I would be okay.  I know they're not very pretty right now but this is what happens when I don't keep up with my nail care routine.


1) Using my stripping tape I taped a v-shape at the tip of my nail. I allowed one side to go all the way to the tip of my nail and on the other side I lined it up with the previously laid strip but did not allow it to overlap into the space on the other side.
2) I decided to do a two toned tip and started with Color Club 'Gold Struck' (from the Gala Gems Mini collection sold exclusively through Birchbox).  I filled in the smaller side of the V and immediately removed the top tape.
3) I then used Color Club 'Heirloom Pearls' (also from the Gala Gems collection) and filled in the bottom portion of the V.  I then removed the second piece of tape.
4)  I performed a bit of clean up and added a top coat to make it nice and shiny.


This design is incredibly easy and can be used for just about any occasion.  The colors I used here would be great for a wedding or to match an elegant outfit.  You could spice up the colors and make a really interesting look for any festive season.  You can also dress it up by adding gems or studs, but I think I like this simple elegant look.


I hope you'll head over to my Facebook page and share your #whatruwearingwed manicure or use the mentioned hashtag on Instagram.  While your there like/follow me to see all the latest from my blog and elsewhere.  You can also follow me by clicking the 'Join this Site' icon on the top right handside of the screen or through Google+Bloglovin, and/or Pinterest.  Thanks for stopping by, see you next time.

Your Fellow Plebe,


Monday, November 3, 2014

Single Leaf Nail Art Design

This past week was so busy that I haven't been able to do much with my nails. About the only thing I had time for was an occasional lotion application. Halloween night turned out to be murder on my nails and I ended the evening with four broken. So, it's time to start over. I trimmed down all my nails. I think these are probably the shortest my nails have been since the beginning of the year.

This is the first nail art I've done in weeks but it feels like decades. I decided to do a fall inspired nail art design because it is the season and it's going quick.


Material
Base and top coat
Orange and brown polish
Makeup sponge
Glitter polish (optional)
Brown acrylic paint
Small thin brush

I started this design with China Glaze 'Stop That Train' (from the All A lard collection) and I accented with China Glaze 'Boundary of Memory' (from the Giver collection) on my ring finger.


Then with a makeup sponge I sponged the tips of my orange nails with China Glaze 'Lug Your Designer Baggage'. I choose this for its gold flecks. I feel it adds an interesting texture.


I then used brown acrylic paint and a small thin brush to draw leaf shapes on my orange/brown nails.


I performed some clean up and applied my favorite top coat. This is a really simple nail art design. Free handing the leaf shape is simple and allows beginners to practice without the design being too complicated. You can do the leaf pattern with or without the sponging and you can do it for an accent or as a full hand nail design. I hope you enjoyed this nail art design, thanks for stopping by, see you next time. 

Your Fellow Plebe,


Social Gadgets

Random Nail Art

Background