

Materials I used:
Basecoat - Dream Polish 'Smooth Gem'
Uber Chic Mat
Polishes - Blue-Eyed Girl Lacquer 'Cherry Blossom,' & 'Wanna Fall in Love Tonight'
Dotting tools
Topcoat - Glisten & Glow 'HK Girl'
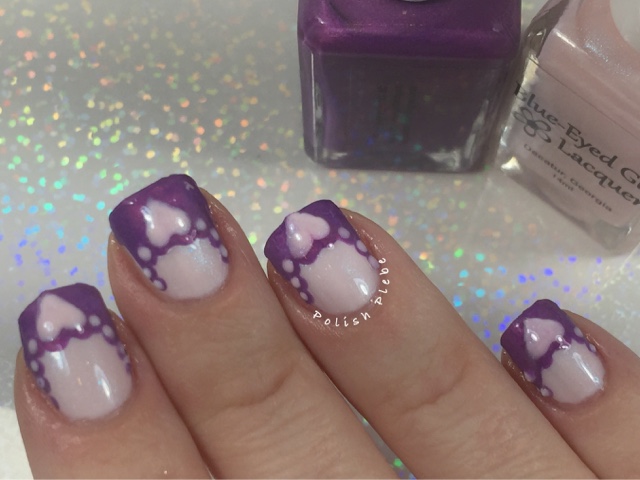
I began with two perfectly beautiful coats of 'Cherry Blossom,' one of my favorite BEGL, on all my nails.

Using the curved nail outlines on my Uber Chic Mat, I traced the outline of the tip with my secondary color 'Wanna Fall in Love Tonight'. Using a medium dotting tool I placed two dots center of the curve using the same color, I then switched to a smaller dotting tool and placed dots on either side of the larger dots. Using 'Cherry Blossom' I created a heart over the top of the center dots and placed smaller dots over each dot along the edge, creating a lace like edge.

Once dry, I removed the French Tip decals from the mat and applied them to my nails using a topcoat as an adhesive. I performed a bit of clean up and applied a final layer of topcoat.
If you don't have an Uber Chic Mat or something similar (there are so many different variations in the market now), you can do the same thing by printing a nail outline (click link for google search) and use a plastic baggy or cellophane over top to create your decals.

I hope you enjoyed this nail art design and found the tutorial useful. Thanks for stopping by, see you next time.
Your Fellow Plebe,


No comments:
Post a Comment